Setup your AWS account
CraneIt is an AWS facilitator, that takes the pain out of using AWS. So you need to have an AWS account. Once the account is created, you need to visit the IAM Panel.Step 1
First, you’ll want to create a user so that CraneIt can manage all the functionnality for you. Start by naming it.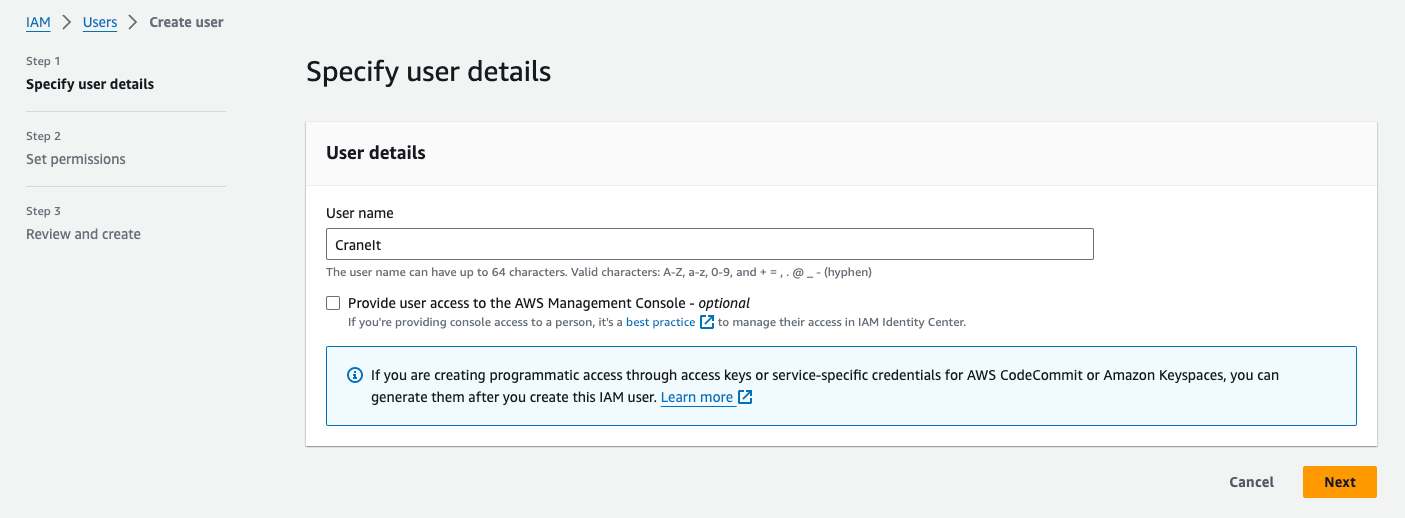
Step 2
Add selecte the “Attach policies directly” option.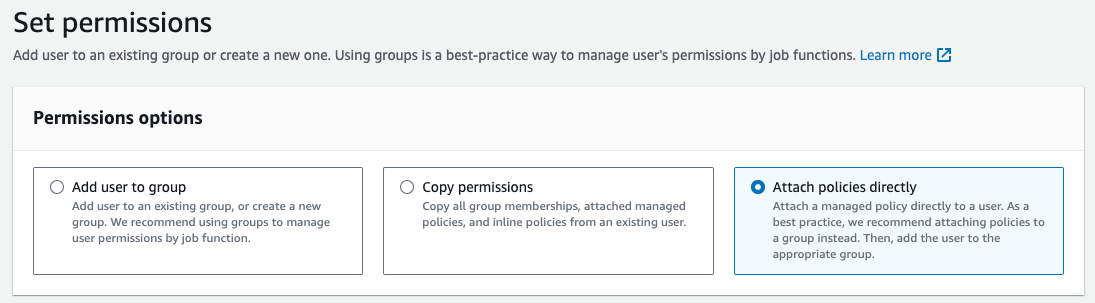
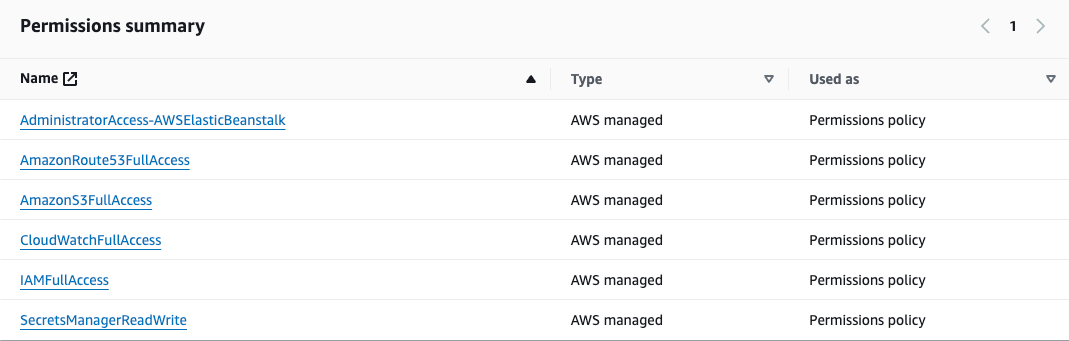
Step 3
Select the following policies:- AdministratorAccess-AWSElasticBeanstalk
- AmazonS3FullAccess
- CloudWatchFullAccess
- IAMFullAccess
- SecretsManagerReadWrite
- AmazonRoute53FullAccess (if you want to manage you domains with Crane It)
Step 3 - bis
Alternatively, you can simply add the AdministratorAccess policy:
Step 4
Once you’ve created this user, click on in and navigate to the Security Credentials tab.
Step 5
Click on Create Access Key.
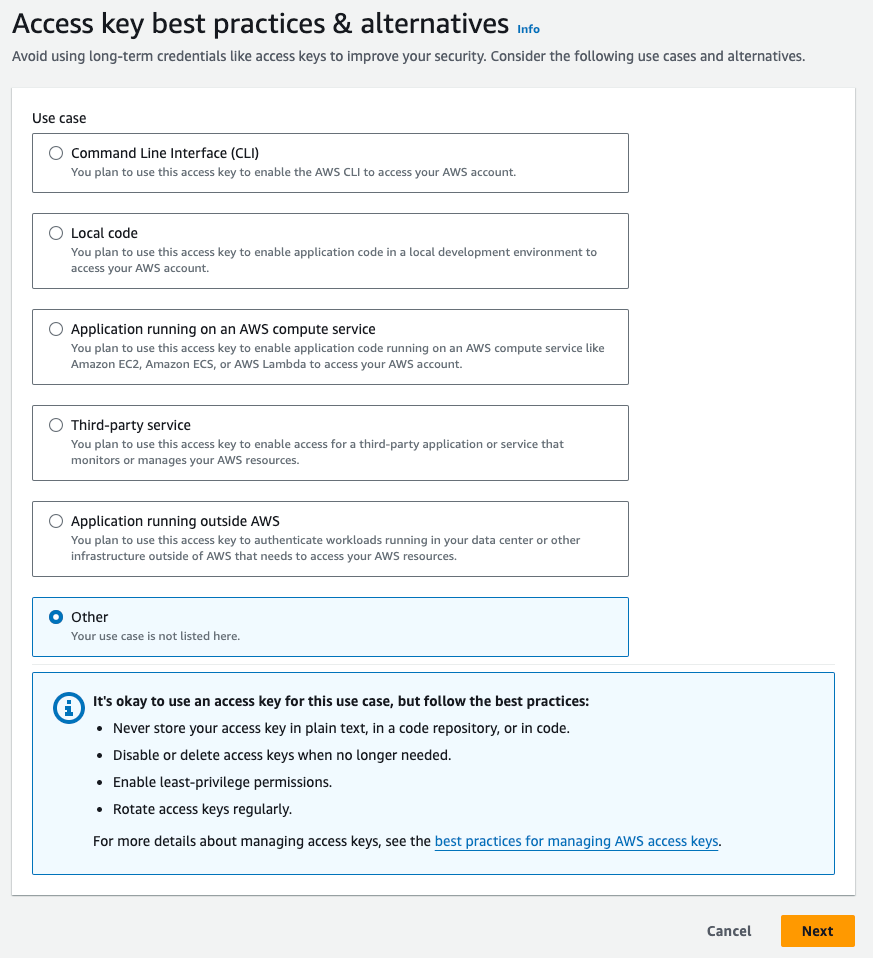
Step 6
You now are completely ready to use Crane It!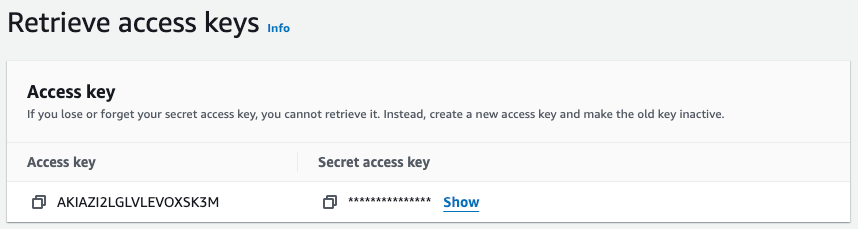
Create your first project
Let’s say you’re looking into adding an analytics tool to your website. You can simply deploy your very own Umami instance with Crane It!Visit the library
Head to the library, and select the Umami project.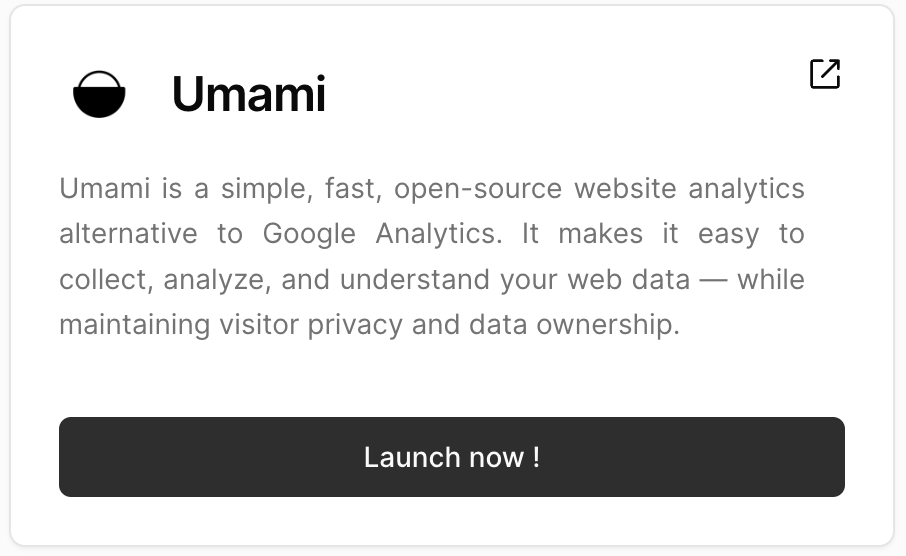
Fill in the AWS keys
Scroll down to the bottom of the project page, and find the “Secrets” section. Fill them in with the API key and secret you got in Step 6 when setting up your AWS account.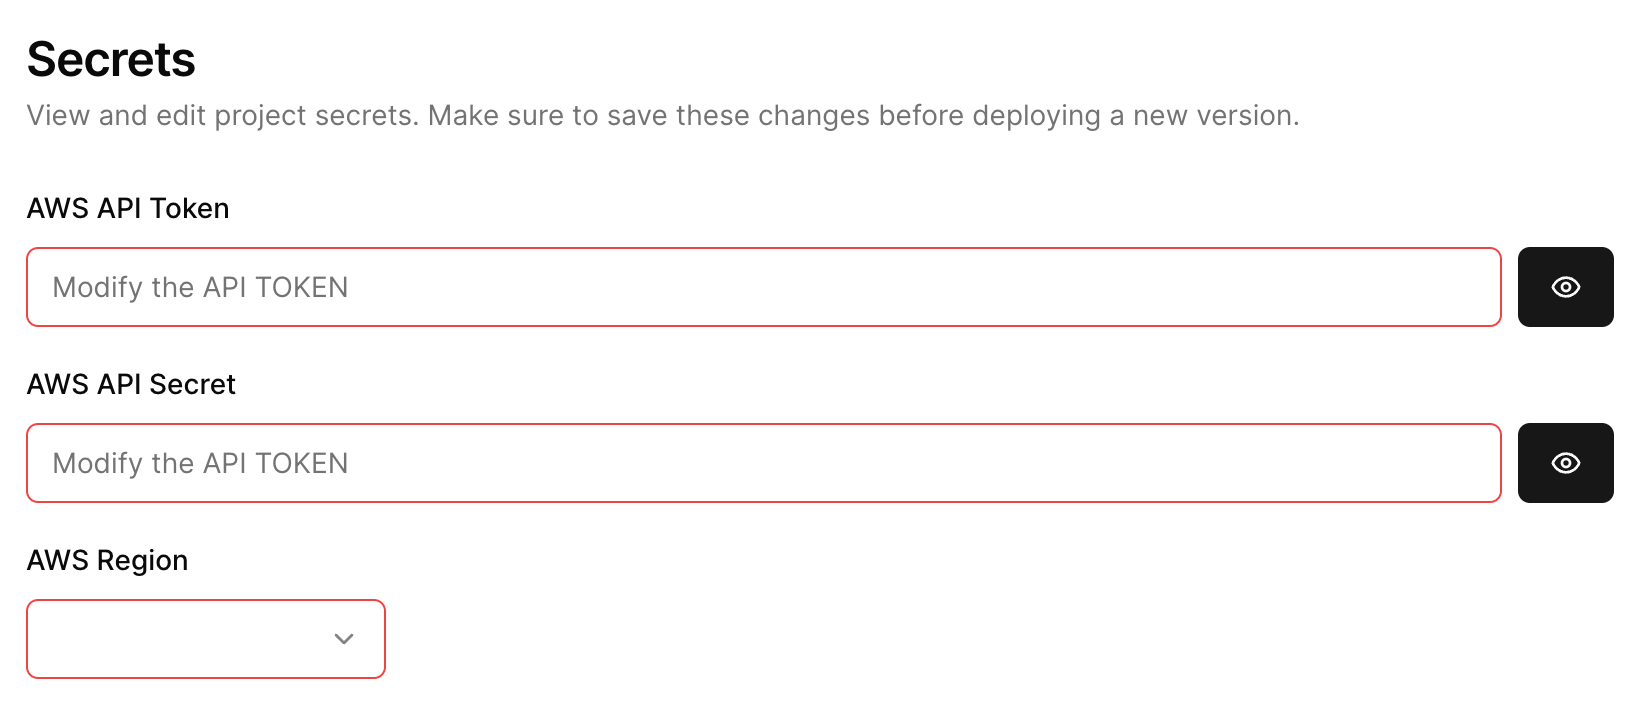
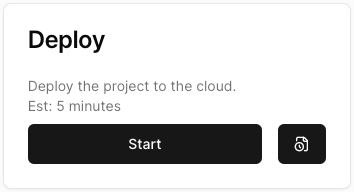
Hit deploy!
Your now ready to deploy the project to production! Just hit the deploy button, and in a few minutes you’ll be able to use it!